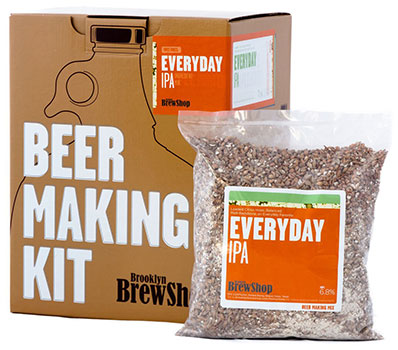
If you are lucky enough to live in the US, look no further than the absolutely perfect Brooklyn Beer Making Kit
At $40 it can’t be beat, especially when you consider how difficult it is to gather the right items separately
It also includes your first beer mix, once again, best bang for your buck

The kit is also available in Canada and the UK, but costs about twice as much
And in Continental Europe it’s not available at all
You may consider gathering the elements yourself and take the opportunity to get better equipment for the same price
I went through this fairly complex process, so, if you want to save the headache, here is a selection of what you need and where to get it from
Gathering the kit yourself
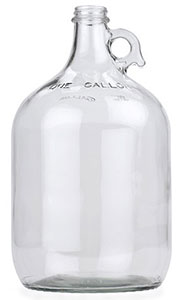
1 gallon / 5 liters glass fermenter US|CAN|UK
If you prefer a plastic fermenter (recommended) read this
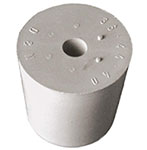
26/32mm rubber stopper with 9mm hole US|CAN|UK
2ft of 9mm clear silicone tubing from your local DIY store $2

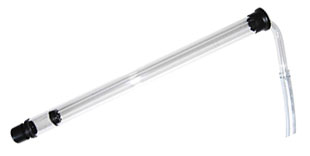
Mini auto-siphon US|CAN|UK
Highly recommended. You don’t want to transfer beer with a racking cane, it’s a mess
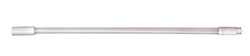
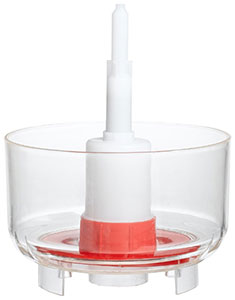
Bottle filler US|CAN|UK
To prevent oxygenation when bottling. More info here
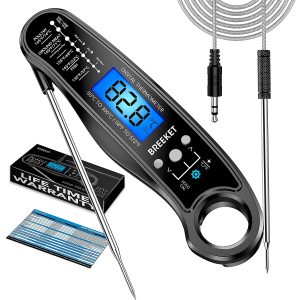
Cooking thermometer US|CAN|UK
Avoid glass thermometers that can easily break and ruin your batch
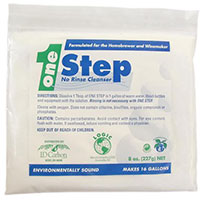
No-rinse sanitizer US|CAN|UK
Makes 16 batches
That’s a total of about $60
As you can see, not cheaper than buying the kit and that doesn’t even include the mix, but in Europe that’s the only option
The good thing is that all these elements are top quality and include an auto-siphon + bottle filler which are major upgrades
You will also need
Whether you decide to buy a kit or gather the elements yourself, you will still need:
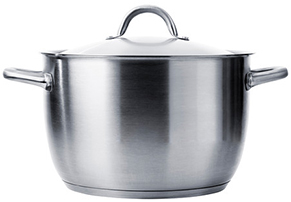
8qt (10L) stainless pot US|CAN|UK
If you don’t have one yet, this model is perfect
It’s relatively tall, which reduces evaporation and allows the 9″/23 cm strainer (see below) to sit above the wort without dipping in it
Note: make sure you don’t cover the pot during the boil, more info here

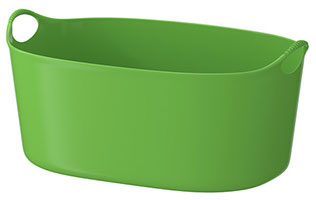
A second pot, at least 6qt, will be necessary
This IKEA pot is perfect and cheap for this
9″/23 cm double mesh strainer US|CAN|UK
This model is awesome, very sturdy and perfectly holds a typical gallon mash. It also exactly fits the 24 cm, 8qt (10L) pot above
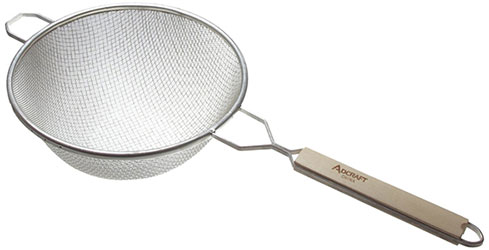
Note: if you brew 5 liters (instead of 1 gallon), the mash may exceed this 9″/23 cm strainer capacity. Just sparge in two steps or consider getting the 10″/25 cm version US|CAN|UK
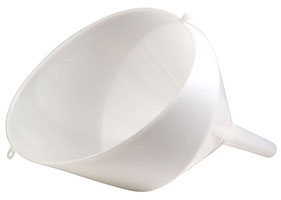
9″/21 cm plastic funnel with screen US|CAN|UK

5-10 ice cube trays and/or camping ice packs to cool down the wort
IKEA is probably your best bet for those
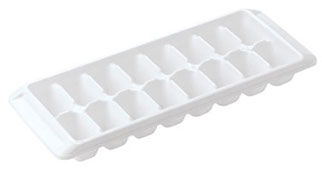

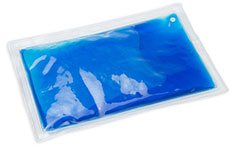
You can also use plastic bottles filled with ice
Cool stuff you may want too
Large spoon, ideally perforated (super useful) US|CAN|UK
Do not use a wooden spoon, it could host bacterias in cracks

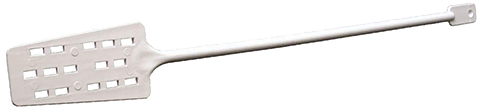
is way more convenient than the metal perforated spoon above
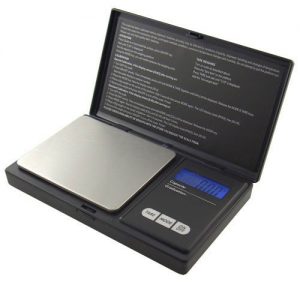
An electronic kitchen scale with tare (= ignore container weight) US|CAN|UK
This will be one of your most useful pieces of equipment. You will use it literally at every step of the brewing procedure, even more when you will start creating your own beer recipes
Make sure to get one with tare, that allows to ignore the container weight

High precision scale US|CAN|UK
Fantastic little tool, both for hops additions and to pitch 1/4 yeast pack without wasting any
Any plastic container about 10qt for sanitization
Paint buckets are great for this

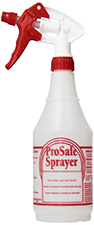
Sprayer bottle US|CAN|UK
Very handy to quickly and easily sanitize things
Optional stuff
Refractometer US|CAN|UK
The most convenient solution to measure your wort gravities
Note: as soon as fermentation starts (= there’s alcohol), you can’t use it anymore, you will need a densimeter US|CAN|UK + test tube US|CAN|UK
This said, the more I brew, the less I care about gravities. Just design good beer recipes and you’re good to go

Plastic tank $5
Better than your kitchen sink for wort cooling as it contains more water
More info How to chill wort faster
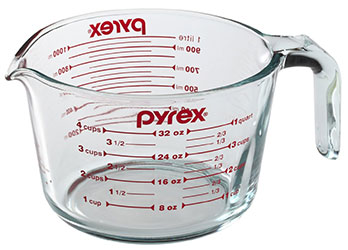
1qt pyrex measuring cup US|CAN|UK
You don’t actually need one, as a scale is more versatile, but it makes sparging more precise and comfortable
Bottle dryer US|CAN|UK
Very optional, but very cool if you get a bit more serious about brewing
Bottle rinser for sanitizer US|CAN|UK
This may sound like luxury, but it’s one of the best little upgrades I got
Really effective, comfortable and saves a lot of hassle
Ingredients
For your first batch, you will likely rely on a ready mix US|CAN|UK, but after your first brew, you will have figured out the basic principles of all-grain beer brewing and want to get rid of the training wheels and start creating your own recipes
We have some great hints on How to design small batch beer recipes and you can buy malt, hops and yeast from either your local brew shop or online suppliers
Bottles
Empty bottles are not cheap
Just drink some beers from swing-top bottles while your beer is fermenting, they are by far your best bet to bottle your beer without having to buy caps and a capper
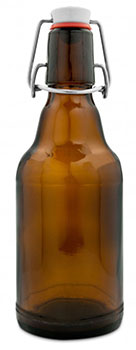
Make sure to get brown ones to protect your beer against daylight
Before you start brewing
You may definitely want to read the best book on the subject, at least the first section

If not, make sure to read our Instructions and hints
Brewer
Latest posts by Brewer (see all)
- 1-gallon Plastic Beer Fermenter - 03/10/2017
- Create beer bottle labels - 26/01/2016
- Grow your own hops - 30/03/2015
Have you ever heard of or used something like this insted of the strainer
http://www.walmart.com/ip/Mainstays-Stainless-Steel-8-Quart-Steamer-Set/43160424
I wonder if the smaller steam attachment could be used during sparging?
I thought about it, but never tried.
It would certainly work great, probably even better than the strainer as the grain would remain compact.
Just place two kitchen tools across the pot to put it and let it drain and you’ll be just fine.
That’s a good way to save some cash, these large strainers are pretty pricey.